SkyscraperModels.us
|
Navigation Site
Info: |
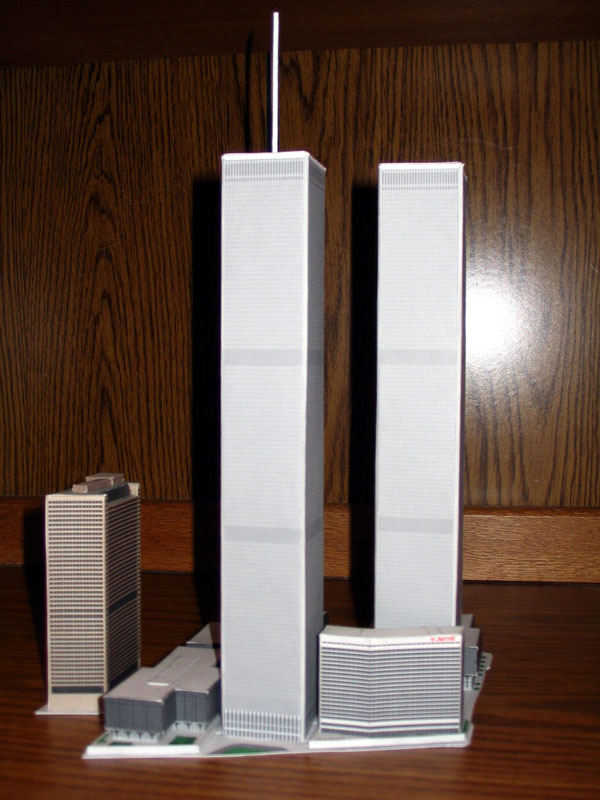
This model of New York's late World Trade Center is scaled at 142ft/in.
This is the most accurate model ever made available for download. It
includes the Twin Towers, the Marriott Hotel at 3WTC, the plaza
buildings, and Tower 7 across the street from the main complex.. Austin
Tobin plaza is featured fulled elevated with stairways leading to it.
It should take 2-3 hours to fully assemble.
           BASE
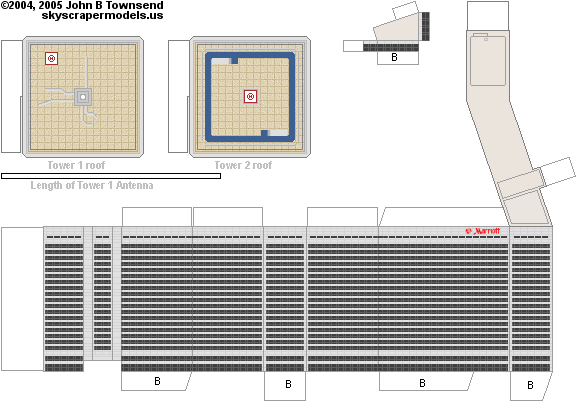
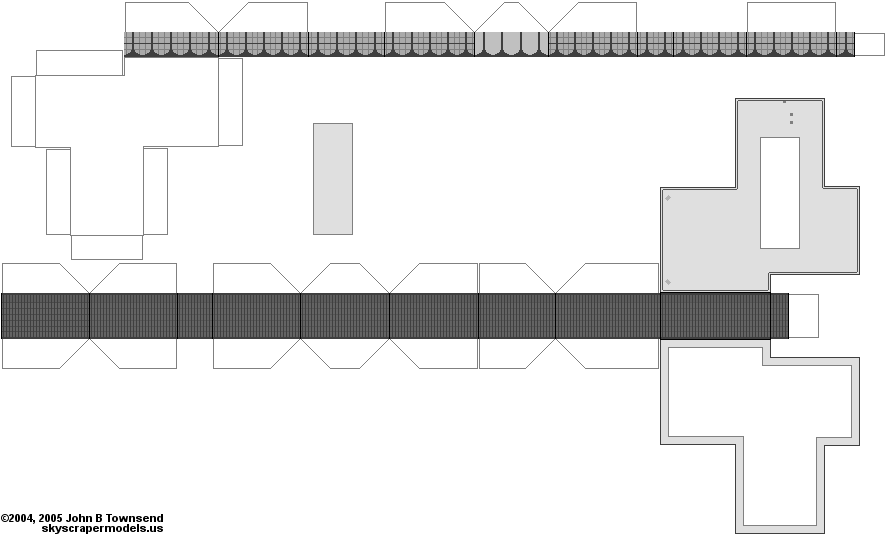
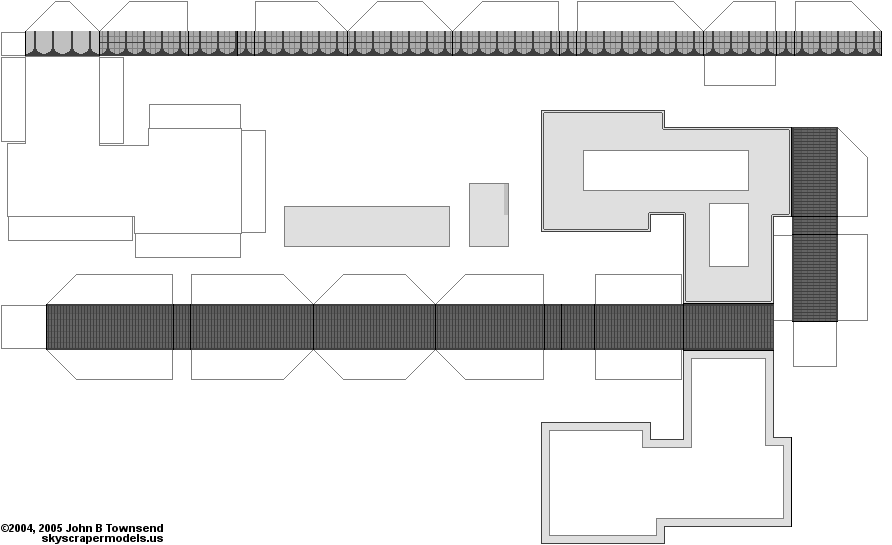
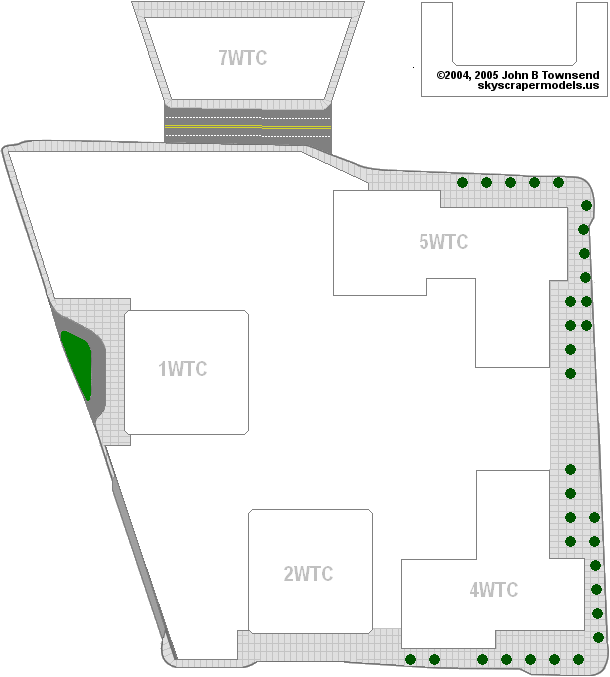
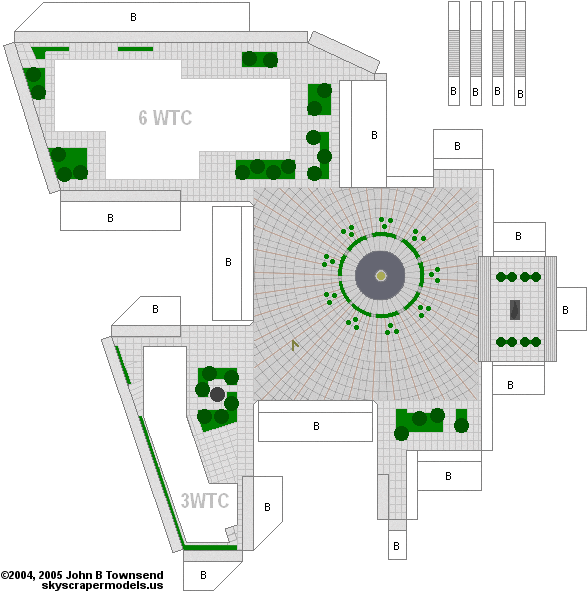
1) The following 7 steps must be done fairly quickly. Make sure all materials are ready before proceeding. The stack should be under weight within 2 minutes of start to minimize warping. Do not rush though, this can also cause warping. 2) Take the sheet with the base printed on it (not to be confused with the Plaza), as well as two blank sheets of card stock. Using glue stick, glue the first blank sheet to the back (unprinted) of the base. 3) Repeat with second blank sheet, glue it to the back of the first blank sheet. 4) Place stack on table,or any straight, level, stable surface. Place several large books on top to flatten. 5) Wait at least 30 minute before removing weight. 6) While the base is drying, cut out the plaza. Fold where indicated. Tabs marked with a "B" will be on the bottom of the completed piece. 7) The four strips that go with the plaza are stairs. Cut-out and fold them so that one tab is under the plaza, the other is folded greater than 90* to fit under the stair section. 8) Glue them to the plaza, a stair should be located between Building 6 and Tower 1, Tower 1 and the Hotel, The hotel and Tower 2, and between Tower 2 and Building 4. 9) Cut out base when dry. Do NOT glue the plaza on yet. When dried the base should be firm and very sturdy. 10) Cut out the "C"-shaped piece. This will be used to shape the angled corners of the Twin Towers. THE
PLAZA BUILDINGS
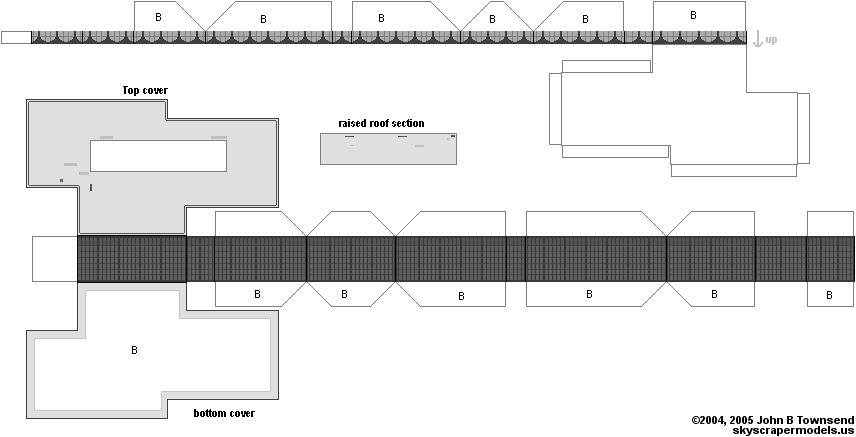
11) Cut out the hotel pieces. Set aside the roofs for the Twin Towers. 12) Fold over the roof section. Fold all tabs. 13) Fold the vertical facade, on the medium grey lines, to fit the roof. Make note that part of the inner facade juts out. Glue where necessary, use small amounts of white glue on tabs. 14) Glue the hotel to the plaza piece where indicated, again with white glue. 15) While the Marriott is drying, cut out the two larger pieces of 6WTC, the US Customs house. 16) The remaining grey rectangle is part of 6WTC's roof. To get the desired raised effect, use glue stick to attach a second sheet of card stock to the back of the box. Wait at least 5 minutes to dry. 17) Fold over the roof of the upper facade of 6WTC (the mostly grey part, the mostly white part is the bottom cover). Fold the bottom section in, then fold it back to stay out of the way. 18) Fold the walls, on the black lines to match the top. Glue to the top. 19) Glue the raised grey box piece to the roof. 20) When dry glue the bottom cover to the wall sections. Let dry 21) Follow the steps above for the bottom facade. 22) When both sections are dry, glue the lower facade to the bottom side of the upper facade. 23) Glue 6WTC to its respective place on the plaza piece. Let dry. 24) Carefully glue the plaza to the base. Make sure everything lines up, especially near the footprints of the Twin Towers. 25) Repeat steps 15-23 for 4WTC, this time gluing the building directly to the base. 26) Repeat again for 5WTC. Be careful and accurate. When building is complete, slide it straight down into its footprint. THE
TWIN TOWERS
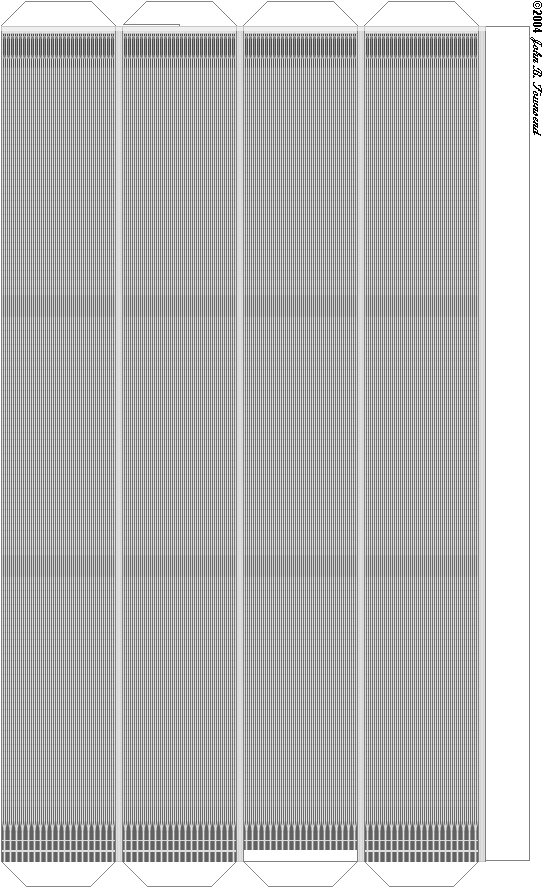
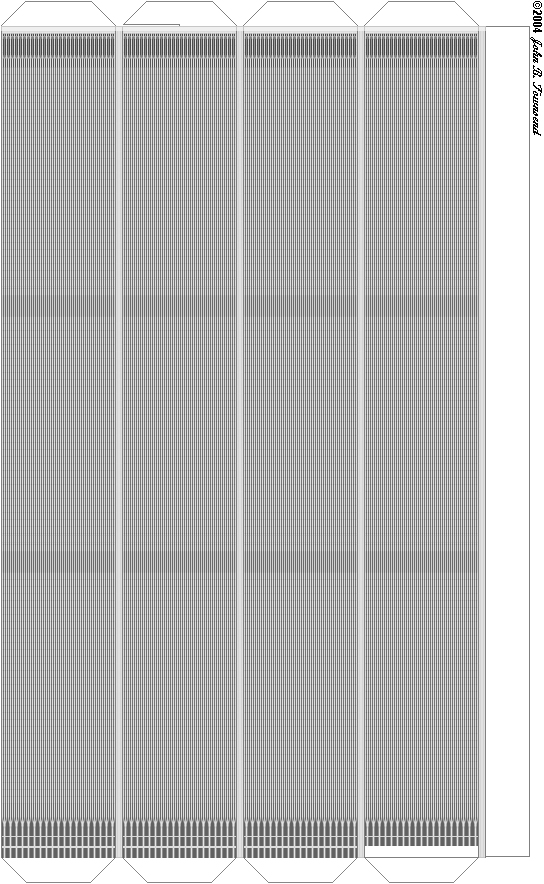
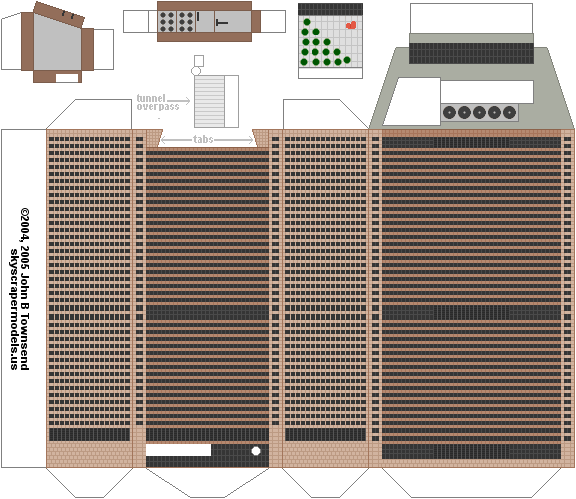
27) Cut out each Tower. Make note that one of the upper tabs in each of the towers has a slot in it. This will fit into a matching slot for the roof piece. Also make note of the blank patch at the bottom of each tower, this will later be glued to the plaza. 28) Note the light grey corners. These are separate faces, each twin tower should have 8 sides: four main faces and four corners. These should be angled 45 degrees relative to the main faces. 29) Fold all tabs on Tower 1. Then all vertical faces. Glue the vertical tab Straighten the tower as much as possible. 30) Making sure the blank spot on the side of the tower is pointed toward the plaza, glue Tower 1 to its place on the base. Make sure to glue the small white patch to the plaza, this greatly increases stability. 31) Taking Tower 1's roof (The one without the blue observation deck), use a small knife to put a small indentation in the white circle in the middle of the roof. This will allow for easier attachment of the antenna. It's okay if you dig a small hole in the roof, as long as it isn't huge. 32), slide it into the slotted tab in Tower 1. Glue in place. 33) Repeat steps 29-32 for Tower 2. TOWER
7
34) Cut out the largest Tower 7 piece. 35) Fold as usual on the darkest lines. Don't mess with the roof yet. 36) Make note of the textured tabs on the south face of the tower. Fold these inward. 37) "W" fold the south portion of the roof, the part featuring the black glass. 38) Glue the roof tab to the south side of the vertical facade. Glue the c\vertical tab. 39) Fold the roof pieces and glue them to their respective spots. 40) Taking the tunnel overpass piece, wrap it around the toothpick, just to get the cylindrical shape. Glue the tab and let dry. 41) Glue the tunnel overpass to it space on Tower 7. 42) The remaining piece is the main over pass, fold the black section up. Glue it to the remaining white spot on Tower 7. 43) Glue Tower 7 to the base. ANTENNA
44) using the black box on the 3WTC sheet, cut the round toothpick to the appropriate length. 45) Using liquid paper (I found this to be best, it dries quickly and doesn't flake or anything. However you may use any paint you desire, or have in you possession. 46) Using a blob of white glue on one of its tips, attach the antenna to the indentation you made in the middle of the roof of Tower 1. 48) Make sure the antenna doesn't tilt. When it stops trying to tip over, you can leave it to dry. |